AWP Contract Setup
A newly awarded contract in AWP requires a review of information and required updates PRIOR to work beginning. If any discrepancies are found during the review, contact Construction Admin staff so that corrections can be completed.
Reviewing and Setting Up a Contract
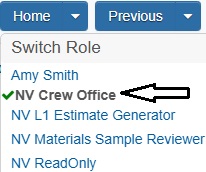
- Confirm current role is set to NV Crew Office.
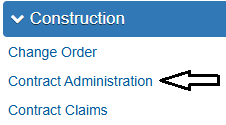
- From the Home page, click Contract Administration under the Construction component.
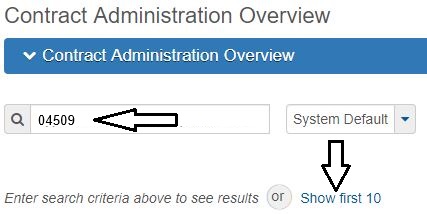
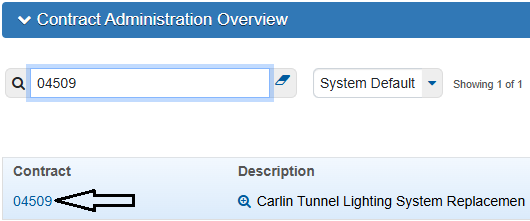
- Enter the Contract Number in the Quick Find Search box, or click Show first 10.
- Click the Contract number hyperlink.
- Verify and update contract information in the following Contract Administration Summary Navigation Tabs using the following sources: Contract Record and Agreement Estimate (AEB) report.
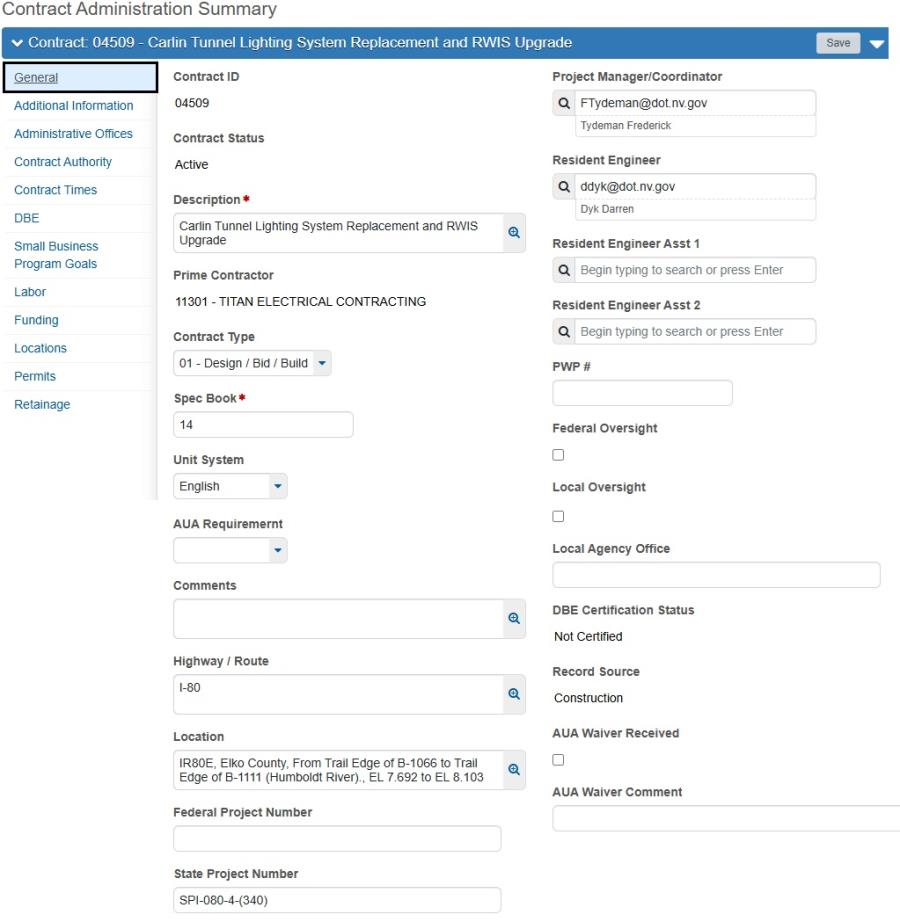
- General Tab: This tab includes basic contract information. Verify the information in all fields is correct.
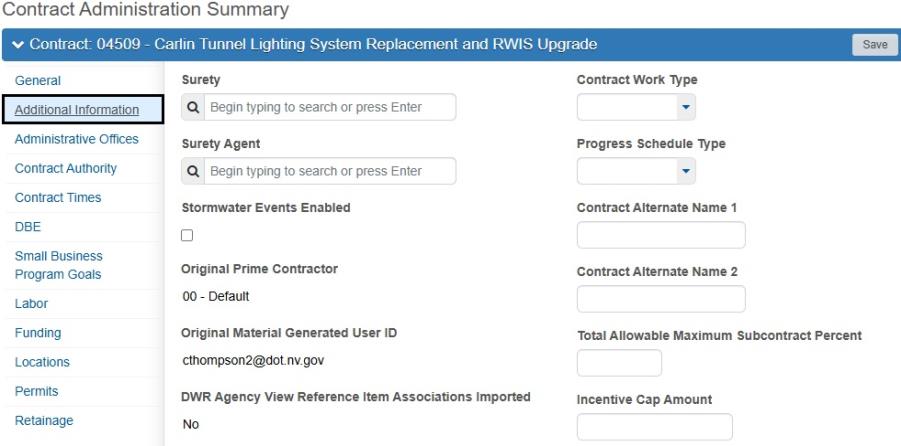
- Additional Information Tab: NDOT doesn't utilize this tab. Any data populated on this tab is informational only.
- Administrative Offices Tab: This tab shows the District and the crew responsible for the contract. The Construction Division, Admin Services Section staff enters the crew/district responsible for the contract in this tab. These records automatically give everyone in the designated crew access to the contract based on their position (RE, ARE, PE/Staff 2, Office Manager, Techs). The Data populated in this tab is informational only.
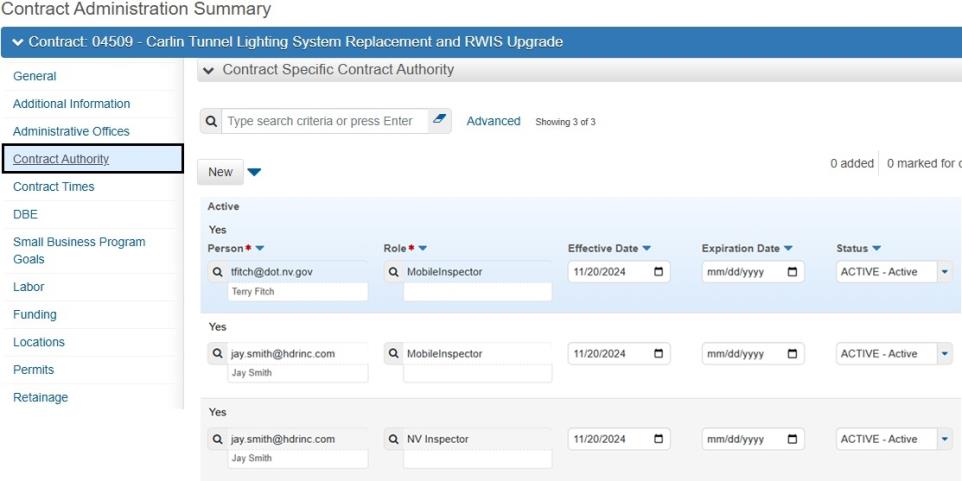
- Contract Authority Tab: This tab displays who has access to a contract under which role(s) and where access to a contract is setup.
- Click the New button under Contract Specific Contract Authority.
- In the Person field, type the person's name and select the person. Always use the email Person record.
- In the Role field, hit enter and select the appropriate Role, see the Contract Authority Roles table below, enter the Effective Date, and select Active as the Status. Click the Save button.
- Repeat steps i. through iii. as needed.
- Contract Times: This tab contains a list of all the time records that exist for the contract.
- To review and edit (if applicable) the site time, click the Time ID link.
- General Tab: Verify the Time Description and Time Type are correct.
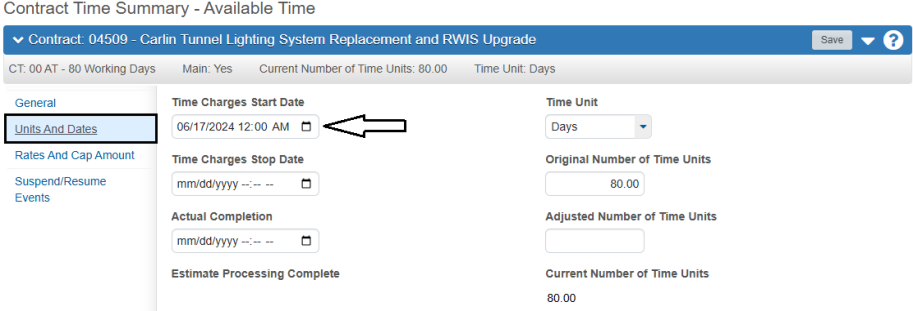
- Units and Dates Tab: Verify the Time Charges Start Date is correct for the Main Site Time.
- Rates and Cap Amount: Verify the Liquidated Damages Rate per the Contract Special Provisions.
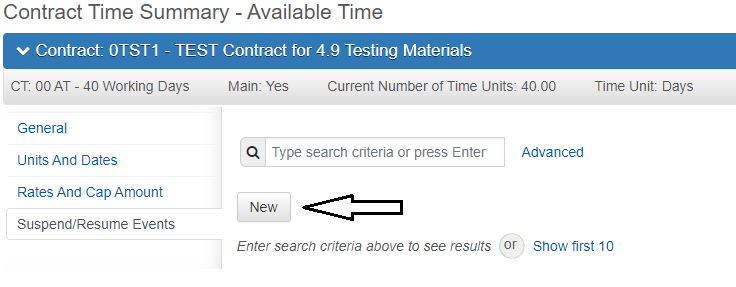
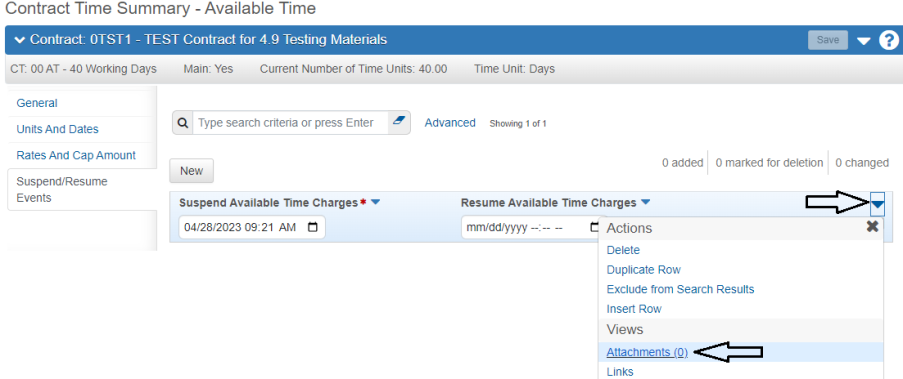
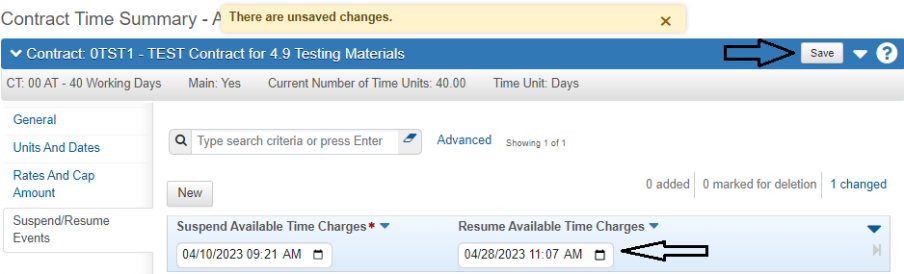
- Suspend/Resume Events Tab: This tab is the area an approved Suspend and Resume Event is added.
- If there is a Suspend/Resume Event click the New button.
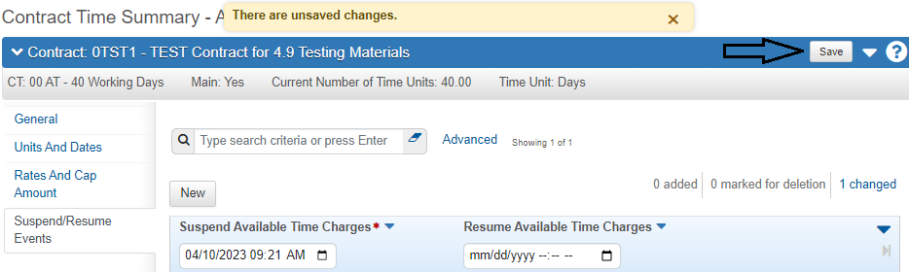
- Enter the beginning date in the Suspend Available Time Charges field and then click the Save button.
- All Suspension letters are REQUIRED to be attached in the Suspend/Resume records. Click the Row Actions Menu and select Attachments.
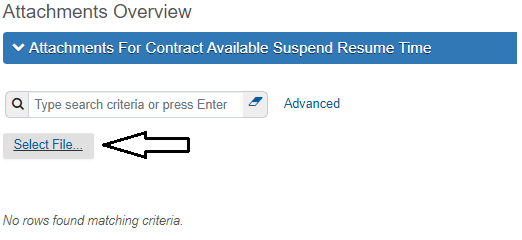
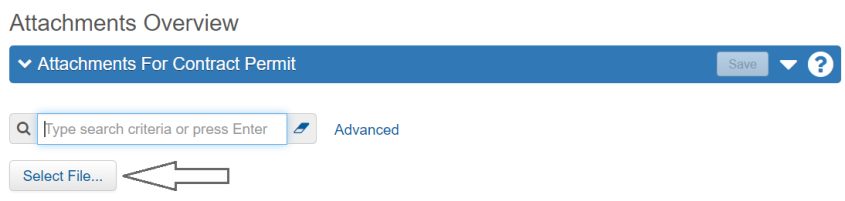
- Click the Select File... Button.
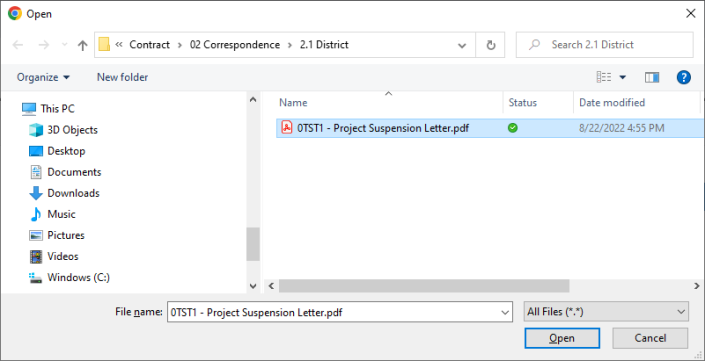
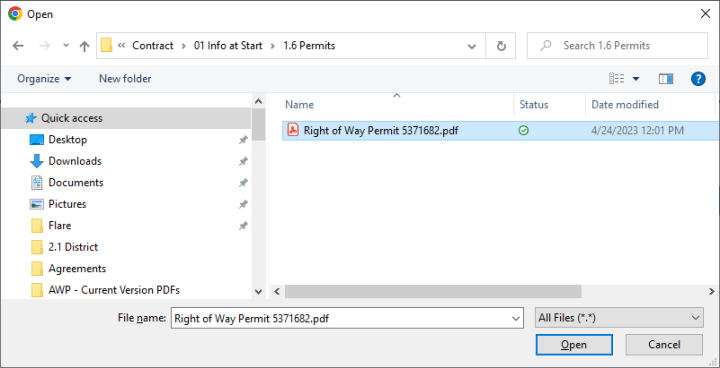
- Go to the appropriate Contract Files\Contract directory and select the Suspension letter, then click the Open button.
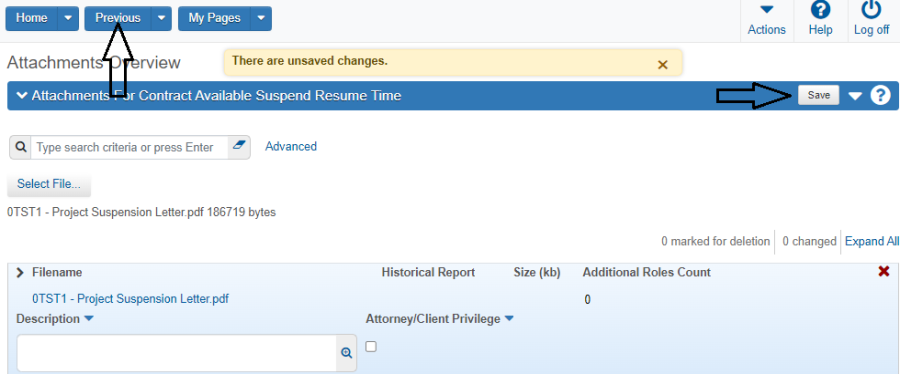
- Click the Save button. Then click the Previous button to return to the Suspend/Resume record.
- To end the Suspend Event, enter a date into the Resume Available Time Charges field and click the Save button.
- All Resumption letters are REQUIRED to be attached in the Suspend/Resume records. See steps 3 - 6 for details on attaching this memo.
- Click the Contract Administration Quick Link to return to the Contract Times area.
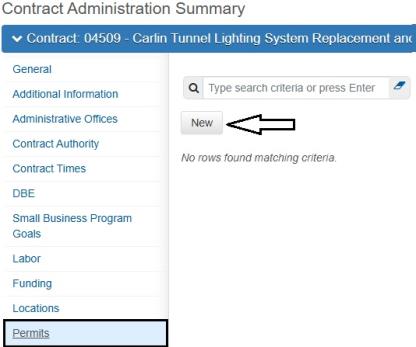
- Permits Tab: This tab is used to add and track Permits as they are received.
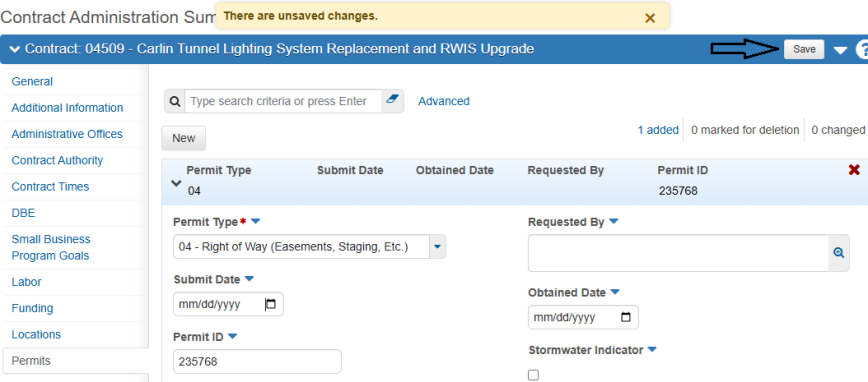
- To add a new permit, click the New button.
- Select a Permit Type from the drop-down.
- Enter the Permit ID and then click the Save button.
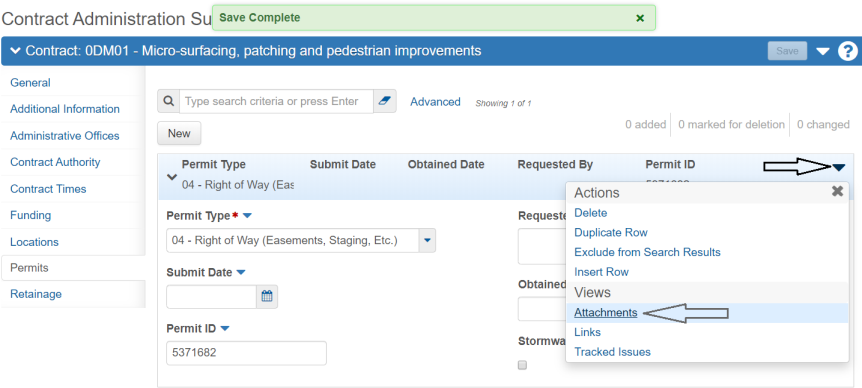
- All Permits are REQUIRED to have the supporting documents attached. Click the Row Actions Menu and select Attachments.
- Click the Select File... Button.
- Go to the appropriate Contract Files\Contract\01 Info at Start directory and select the supporting document file, then click the Open button.
- Enter a Description, if appropriate, and click the Save button. Click the Previous button to return to the Permit record.
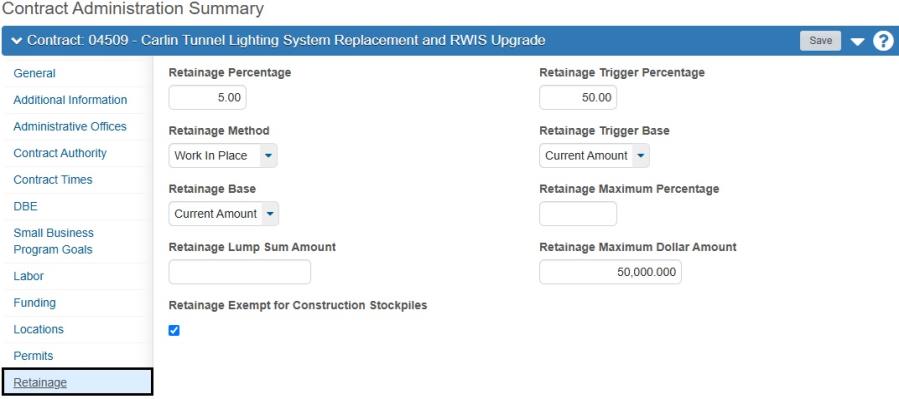
- Retainage Tab: This area shows the contract's Retainage properties. Once the Contract Percent Complete reaches 50%, a 5% retainage will be applied to each subsequent payment estimate until the total retainage withheld reaches $50,000.00. Data populated on this screen is informational only.

Contract Specific Contract Authority: This is where Mobile Inspector users are given access to the contract AND to give someone outside of the Crew office access to a contract, i.e., a user from another crew is on loan to help on a contract or a consultant is on an approved Agreement to assist a crew on a contract. DO NOT add crew office staff in this area! ALL crew office staff members are given access to the contract by Construction Division, Admin Services staff.
| User | AWP Role(s) |
| Crew Mobile Inspector users (e.g., Inspectors, Sup 1, ARE) | MobileInspector |
| Inspector (on loan from another crew) | MobileInspector, NV Inspector, NV Materials Inspector* (if applicable) |
| Tester (on loan from another crew) | NV Materials Tester* |
| Office Manager (on loan from another crew) | NV Crew Office, NV L1 Estimate Generator, NV Materials Reviewer* |
| Consultant Inspector | MobileInspector, NV Inspector, NV Materials Inspector* (if applicable) |
| Consultant Tester | NV Materials Tester* |
| Consultant Office Person | NV Crew Office, NV L1 Estimate Generator, NV Materials Reviewer* |
| Consultant Assistant RE | NV Crew Office, NV L1 Estimate Generator, NV L2 Estimate Review, NV L3 Estimate Approve, NV Materials Authorizer* |
| *IMPORTANT: Send an email to Terry Fitch - tfitch@dot.nv.gov and Cc Kristen McDaniel - kmcdaniel2@dot.nv.gov indicating the user requires access to the crew's field lab. | |
In the case of Prime Contractor Read-only AWP access, send an email to Terry Fitch and Kristen McDaniel with the Prime Contractor representative's name, company name, and business email address. They will give the Contractor user access to the appropriate contracts. DO NOT add Contractor staff in this area!


Note: To end a Contract Specific Contract Authority, enter in an Expiration date and click the Save button.

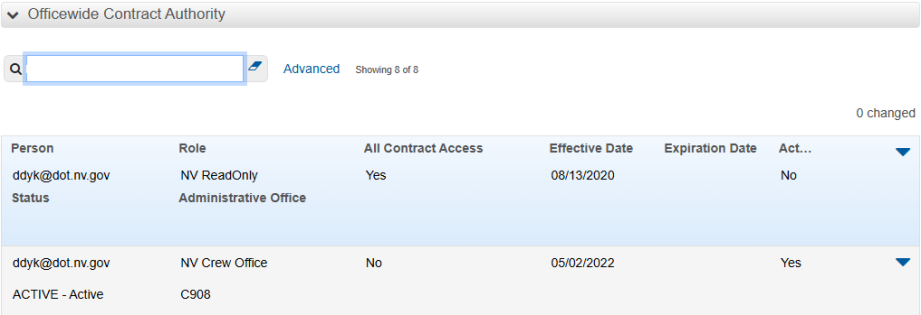
Officewide Contract Authority: This area lists anyone who has access to the contract as a result of which Administrative Office this contract is placed in OR anyone who has All Contract access. The records in this area are not editable. If someone has access here and they shouldn't, contact Construction Admin staff to have the access removed.
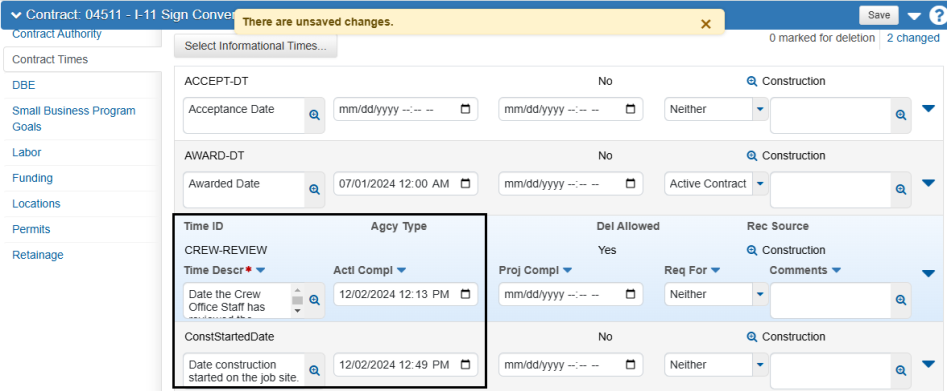
Informational Area: This includes all the Informational Contract Times. Several dates are pre-populated based on the Contract Record (DO NOT CHANGE THESE DATES). Items 1 (CREW-REVIEW) and 2 (ConstStartedDate) will be entered once the contract is reviewed.

Site Area: This area identifies the contract's Main Contract Site Time, Available Time (Working Days) ( 00 AT), or Completion Date (00 CD) and the Clean Up Time (00 CLEAN) site time. It is also the area where the Time Charges Start Date and Time Charges Stop Dates are entered, where the time liquidated damages rates are set, and where the contract time can be suspended and resumed on a Working Days (00 AT) contract.
All AWP contracts are set up with a Calendar Day Clean Up Time (00 CLEAN) per the Standard Specifications, Section 108.09. This provision is used to track the time allotted to the Contractor for performing final clean-up activities on the contract.
Note: The 00 CLEAN Start Date will be entered at the completion of construction. Refer to the Field Closeout topic, in this User Guide for details on this Site Time.


Note: The Time Charges Start Date is set to the Contract's Notice To Proceed (NTP) date. If there is a delay and work doesn't start on the NTP Date, change the Time Charges Start Date to the correct date.

Note: During the crew review if the contract's start date has been suspended, enter an initial Suspend Event. Enter the Resume Event when the start date has been decided. The Suspend and Resume Letters are required and should be sent to the Construction Chief.
Note: A Suspend/Resume Event can be added at any point throughout the contract.

Note: The DBE, Small Business Program Goals, Labor, Funding, and Locations tabs do not need to be reviewed.

Reviewing Contract Projects
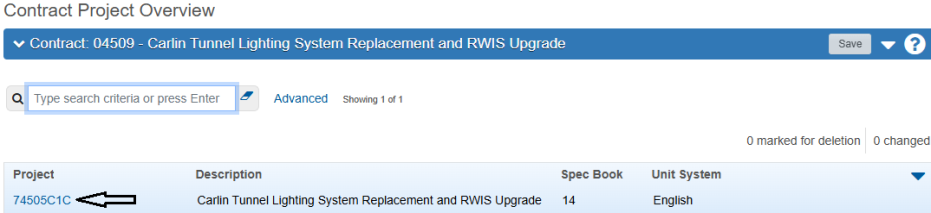
- While in Contact Administration, click Projects in the Quick Links.
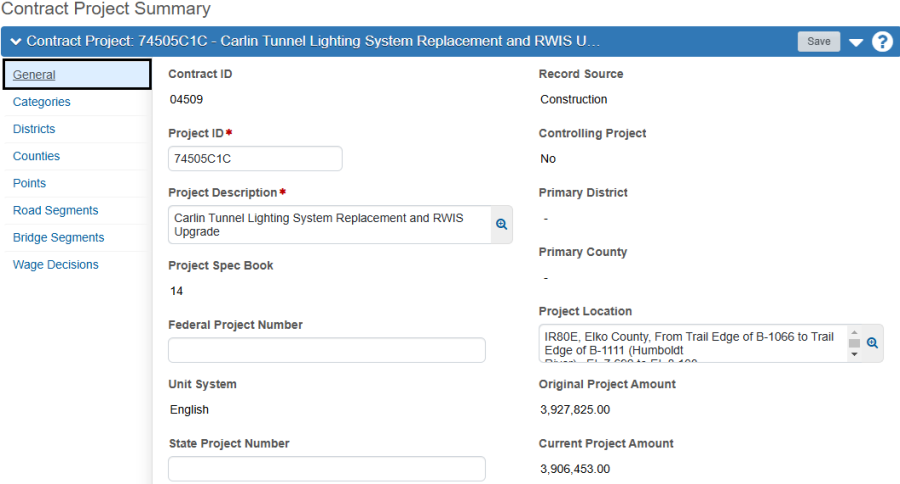
- To review the Contract Project details, click the Project ID link.
- Verify the information in the following Contract Project Summary Navigation Tabs using the following sources: Contract Record and Agreement Estimate Breakout (AEB) report. Repeat for each project.
- General Tab: Verify the Project Description and Project Location.
- Categories Tab: Click the chevron to the left of the category description to expand the category record. Verify the Category Description and the Activity are correct per the Agreement Estimate Breakout Report. Repeat for each category.
- Districts Tab: Verify the District ID is correct.
- Counties Tab: Verify the county information. If there is more than one county for a project, the total sum of the Percentage values must equal 100%.
- Click Previous to go back to the Contract Project Overview of the Contract's Projects.


Note: The Points, Road Segments, Bridge Segments, and Wage Decisions tabs do not need to be reviewed.
Reviewing Contract Items and Project/Category Items
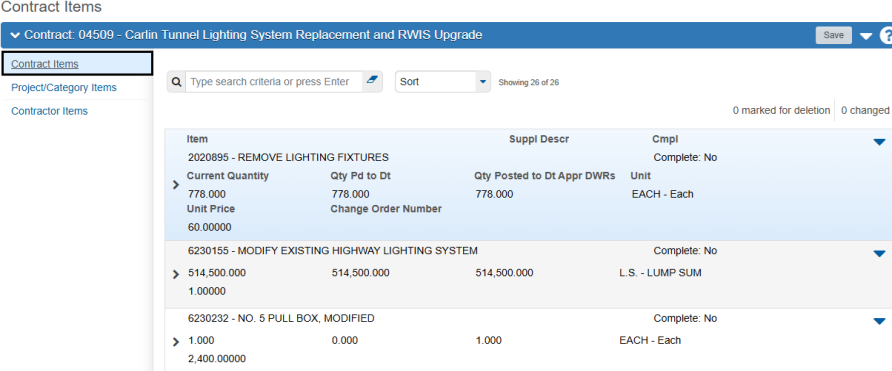
- Once all projects are reviewed, click Items in the Quick Links.
- Review the Contract Items using the MasterWorks Bid Item Summary report.
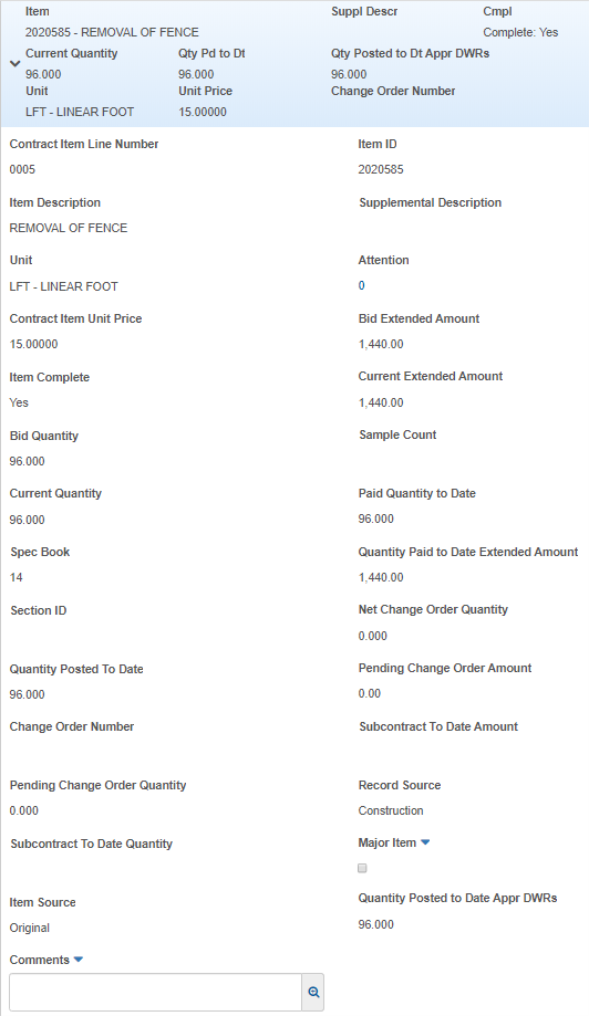
- Click the chevron to expand the Item for additional information.
- Review the Item's Details.
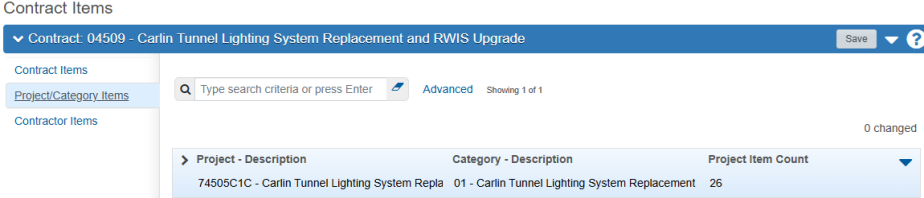
- Review Project/Category Items using the MasterWorks Agreement Estimate Breakout (AEB) and Estimate Quantities by Breakout reports.
- Click the chevron to the left of the Project - Description to expand the selection.
- Verify the items assigned to the Projects and Categories against the Agreement Estimate Breakout Report.


Note: The Contractor Items tab does not need to be reviewed.
Entering Crew Review Date and Construction Start Date
- After the review of the contract, click Contract Administration in the Quick Links.
- Navigate to the Contract Times Tab and enter the appropriate dates into the CREW-REVIEW and ConstStartedDate - Actl Compl fields.
- Click the Save button.